Touring Agent Step-by-Step Guide to Getting Started with InstaShow+
Learn how to set up your InstaShow+ account, schedule property tours, and streamline your real estate process with this easy step-by-step guide.
Welcome to InstaShow+, the smarter way for real estate agents to schedule and manage property tours. Whether you’re a buying agent or a listing agent, InstaShow+ makes the process easier and more efficient. In this blog post, we’ll walk you through the simple steps to set up your account and schedule your first property tour.
The first step in getting started with InstaShow+ is to create your account. Simply sign up to gain access to property listings and begin scheduling showings. This account will be your hub for managing your tours and staying connected with your clients and properties.
Next, you’ll need to choose your role. Are you working with buyers or listing properties? For this walkthrough, we’ll select “Rent or Buy a Home,” simulating a buying agent scenario. Your selection will customize the platform to better suit your specific needs and role in the real estate process.
If you’re a licensed real estate agent, InstaShow+ will ask for your license number and the state where you’re registered. This step ensures you are part of a secure, professional network and adds an extra layer of trust for you and your clients.
To protect both you and your clients, InstaShow+ will guide you through a quick identity verification process. This ensures the security and integrity of the platform for all users. The steps are simple and will require you to confirm your identity before proceeding.
Start by selecting your country of residence. This step is necessary as InstaShow+ operates in various regions and will provide listings and tour options based on your location.
For identity verification, you’ll need to select the type of ID you’ll use. In this walkthrough, we’ll select “Driver’s License or ID Card.” Simply upload a clear image of your ID for the verification process to continue.
Now, you’ll need to take three photos to verify your identity. This is a quick and easy step to ensure your personal information is secure. Once your photos are uploaded and verified, you’ll be ready to move on.
Once your account and identity are set up, you can begin browsing properties. When you find a property you’d like to tour, simply select “Schedule Tour.” If the listing offers immediate access, you’ll see a “See it Now” option. For this example, we’ll schedule a tour to simulate a more typical showing experience.
Now it’s time to schedule the actual tour. Choose whether you’re showing the property to a client or previewing it yourself. Additionally, you can decide if the property lister should be present during the tour. In this walkthrough, we’ll select “Agent with prospect” and “No” for owner presence.
Then, pick a date and time for the tour and confirm how many people will be attending. Keep in mind that some property listers may limit the number of attendees for tours, so double-check the details before finalizing your selection.
Confirm the date and time of your tour, and make sure the details are correct. This is where you’ll specify the number of people attending the tour. Once everything is set, you’re good to go!
And just like that, your tour is scheduled! You’ll receive notifications to keep you informed as the tour approaches. Now you can focus on providing the best possible experience for your client while InstaShow+ takes care of the logistics.
You’re now ready to streamline your property tours with InstaShow+. With these simple steps, InstaShow+ empowers you to schedule and manage tours with ease, leaving you more time to focus on what matters most—building relationships and closing deals. Happy showing!
InstaShow+ makes it easy for real estate agents to stay organized and efficient. If you have any questions or need further assistance, InstaShow’s support team is here to help.
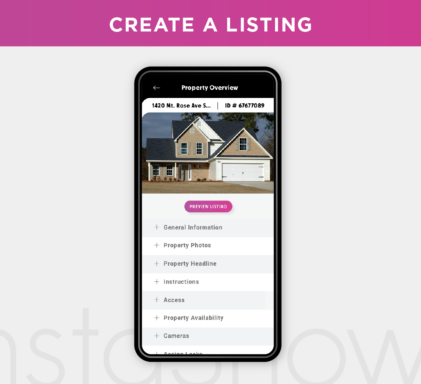
Setting up a property listing shouldn’t be complicated. With InstaShow+, you can easily create, manage, and showcase your property in just a few steps. Whether you’re renting or selling, this guide will walk you through the process so you can start scheduling showings effortlessly.
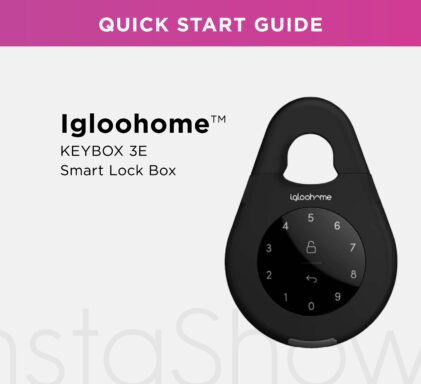
Learn how to seamlessly complete your Igloohome lockbox setup and connect it to InstaShow with this step-by-step guide. Perfect for self-tours and traditional tours alike!
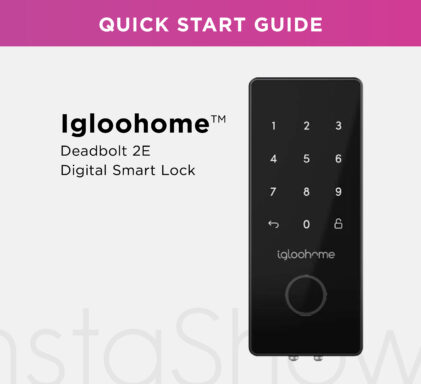
Follow our easy guide to set up your InstaShow+ with the Igloohome Deadbolt. From installation to testing, we’ll walk you through every step to get your lock ready for use.